Staining Pressure Treated Wood
Any good builder knows that a project’s not done until it’s finished and, when It comes to outdoor projects, it’s not finished until it’s been stained, sealed or painted.
But in the case of projects that use pressure treated wood, like YellaWood® brand pressure treated pine, many wonder whether they can stain the wood or if they even need to. While pressure treated wood contains preservatives that bolster its durability and resistance to decay, rot and pests, it too is susceptible to swelling and shrinking as a result of weather cycles in outdoor settings. So, yes, you can stain pressure treated wood and, in many cases, you should in order to minimize the risk of splits, cracks, checks and other appearance issues.
Here's how to stain pressure treated wood:
1. Know When to Stain the Wood
In the past, many used a rule of thumb to wait six months or even a year to stain projects that used treated wood. But that’s no longer the case with newer treatments like the micronized cooper preservatives used to treat YellaWood® brand products.
Ideally, you’ll want to stain pressure treated wood within six weeks after construction so long as the wood is sufficiently dry. To determine whether treated wood is dry enough for stain to properly penetrate and absorb into the wood, try applying the ‘sprinkle test’. This can be done by dropping a few beads of water onto the boards. If it beads up, you’ll need to wait several days to test again. However, if the water absorbs into the wood, it’s ready for staining.
2. Clean and Prepare the Wood
Before staining, it’s important to clean the wood to remove any dirt or blemishes from boards lest the stain traps any imperfections. Deck cleaner or a mixture of water and soap can be used for cleaning. Scrubbing the wood with a brush while wet or using a pressure washer can be effective, but it’s important to avoid using too much pressure that could potentially damage the wood. Allow the wood to dry for about 24 hours before applying any stain.
You’ll also want to use tarps or painter’s tape to avoid inadvertently staining areas near the wood to which you are applying the stain, like house siding or nearby outdoor furniture. Be sure also to dry brush the wood once more before staining to remove any dirt, leaves or other debris that may have accumulated since the last cleaning.
3. Choose the Right Stain
Choosing the right stain for your project is critical for achieving your desired look and level of protection. While there are many elements to consider, including stain color, potential sunlight exposure, water repellence and the type of wood to which it will be applied, perhaps the most important consideration is opacity category.
Common types of stains to consider are:
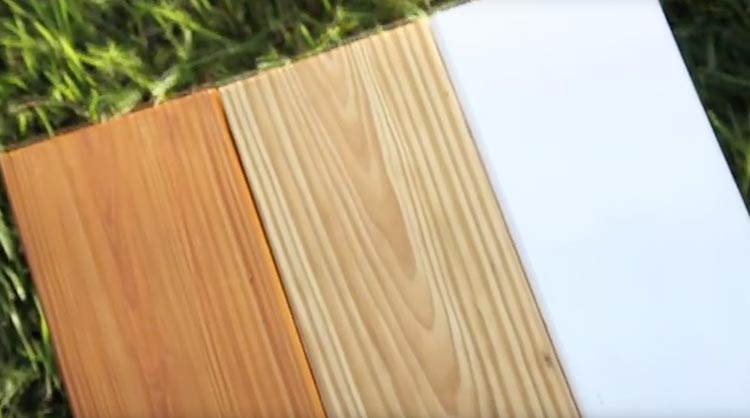
- Clear: This type of stain will highlight all of the details in the wood, allowing its natural colors to shine through without any additional hues
- Translucent: Similar to clear stains, translucent stains allow the wood grain and natural properties to shine through but with a hint of color
- Semi-transparent: Choose a semi-transparent stain to strike a balance between letting the wood’s natural details shine through but with added color of your choice
- Semi-Solid: Semi-solid is a good choice if you are looking for heartier color coverage and masking imperfections while still along some natural wood grain to show through.
- Solid: Solid stains offer thick paint-like color coverage and intensity. They are ideal solutions for projects with aging or inexpensive wood and highlight only a slight hint of wood grain.
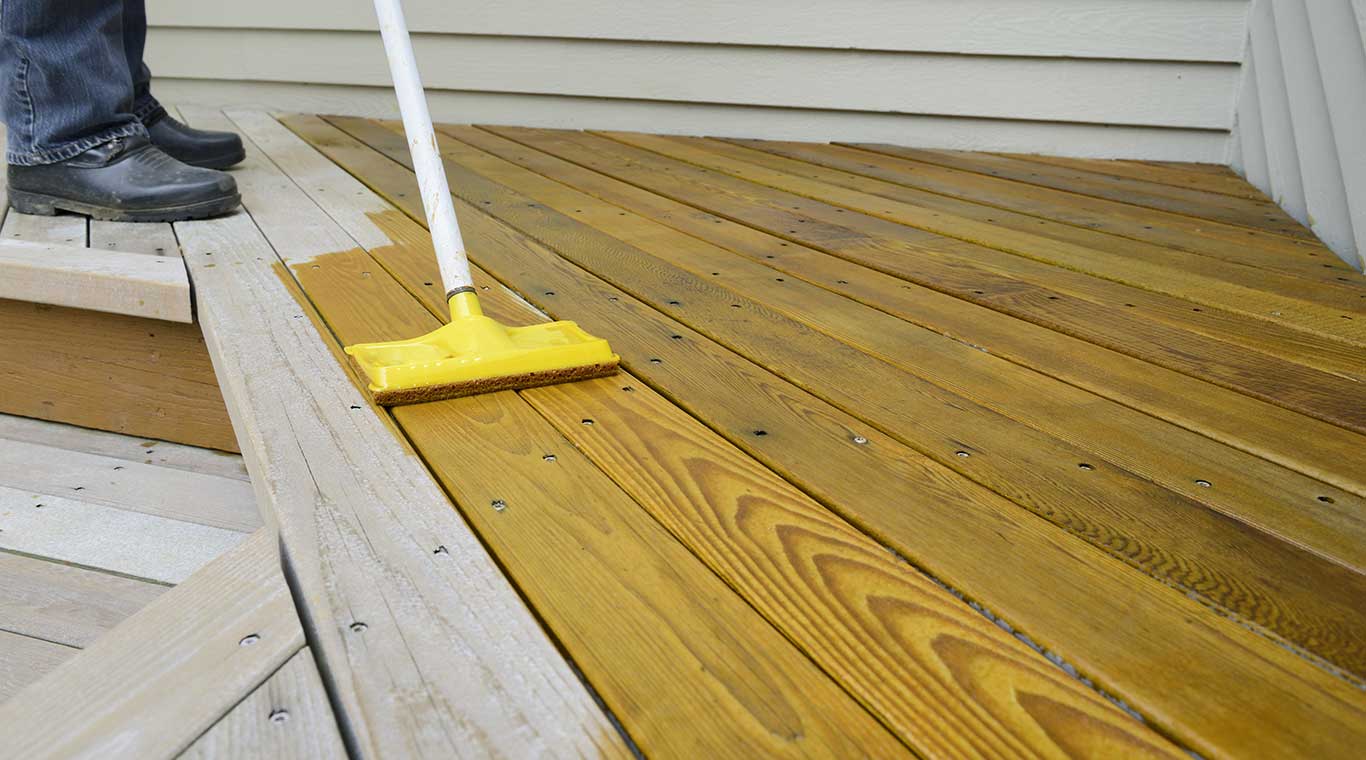
4. Apply the Stain
The final step to staining pressure treated wood is the actual application. If you are staining pressure treated decking boards, we recommend you follow the steps outlined in our Staining a Deck guide, which can be summarized as follows:
- Get the right application tools: The best method for applying stain is the one that provides uniform and complete coverage. Consider using either a synthetic bristle brush, staining pad, roller or airless sprayer depending on the size, scope and nuances of the project at hand
- Use proper application techniques: In the initial application, adhere to the ‘end-to-end’ rule, going from one end of the construction to the other, rather than segmenting into sections. Be sure to back brush after the initial application and to apply two coats of stain to the project.
- Allow stain to dry and cure: Drying and curing intervals will depend on ambient temperature and humidity. It is possible to put a covering over a newly stained surface to protect it from damp weather so long as it is not in direct contact with the stained surface
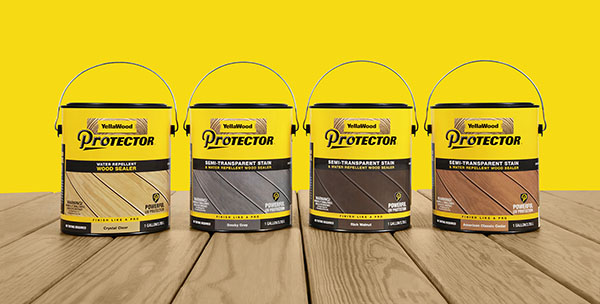
YellaWood Protector®
Deck Stain & Sealer
YellaWood Protector® semi-transparent stain and water repellent.