Patio Table
Plant Trough Hack
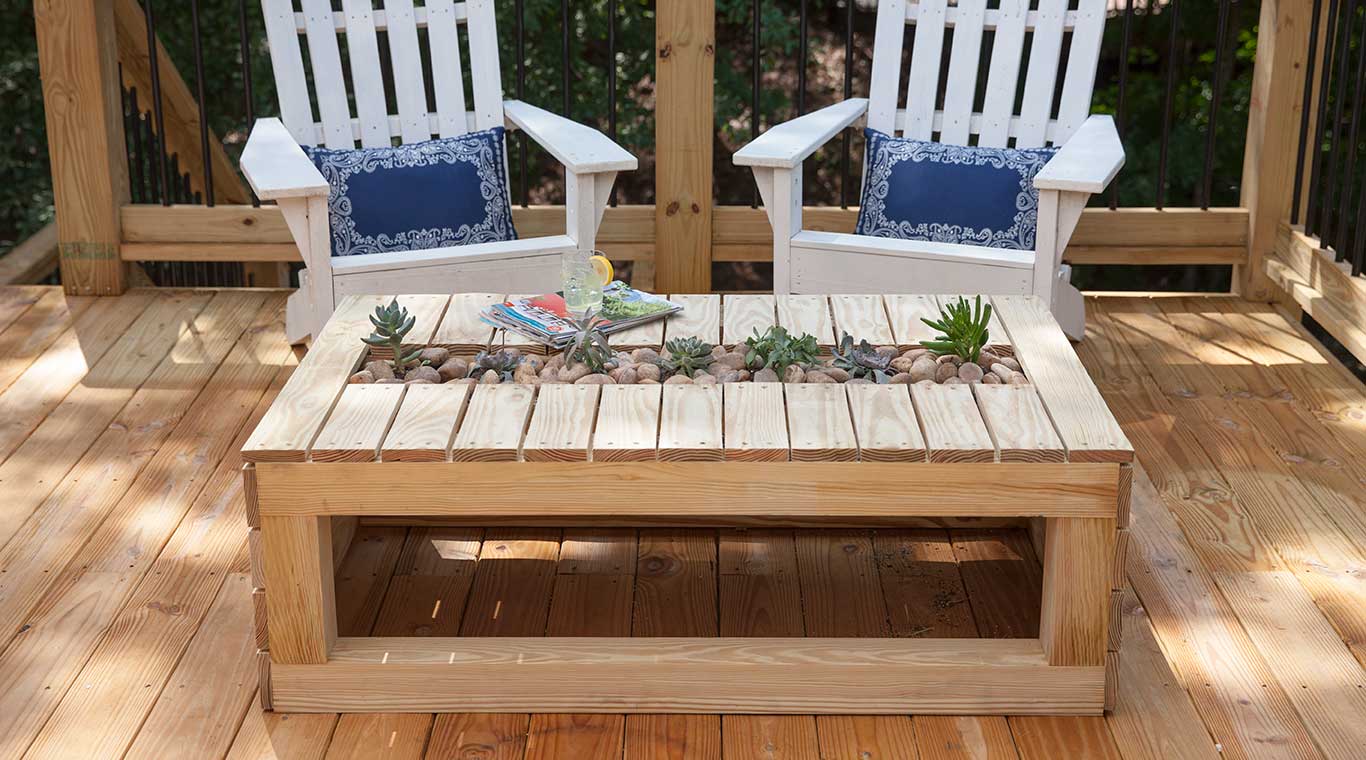
A patio table adds sophistication and charm to any outdoor space. It anchors the seating elements and provides a surface for food, drinks, and plants. Designed with simplicity and elegance in mind, this table features a strong, sleek base with cladding that waterfalls from the top down two sides.
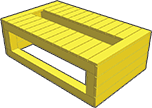
Using 4x4s as legs, 2x4s for structure, and 1x4s for cladding, this project takes shape in just a few simple steps. When the leg assemblies are completed, the support structure is secured to create the table's skeleton. From there, it's just a matter of attaching the slats that waterfall over three faces.
After a light sanding and a waterproof finish is applied, you and your family will be set to enjoy some R&R.
Before you get started, please read our info on safety, fasteners and building tips.
Before building, please consult our Terms of Use.
Materials
- (2) 4 x 4 x 10' YellaWood® brand pressure treated pine
- (3) 2 x 4 x 10' YellaWood® brand pressure treated pine
- (7) 1 x 4 x 10' YellaWood® brand pressure treated pine
- (1) ½ lb box 2½" wood screws + appropriate bit
- (1) box (approx. 50 screws) 4" heavy-duty lag wood screws with 5/16" head
- Preferred wood finish
- YellaWood Protector® Stain and Sealer
Tools
- Pencil
- Measuring tape
- Miter saw
- Table saw
- Drill/driver
- 3/16" drill bit
- 1/2" Forstner bit
- 5/16" Hex driver bit
- Clamps (12" and 4')
- Framing/combination squares
- Combination countersink drill bit (with 2" long 1 /8" bit)
- Radial sander
- Damp rag to wipe up excess glue
- Waterproof wood glue
Cut List
- A. (4) 4 x 4 x 47"
- B. (4) 4 x 4 x 8 ¾"
- C. (2) 2 x 4 x 23 ½"
- D. (4) 2 x 4 x 44 ¼"
- E. (21) 1 x 4 x 30"
Plant Trough Hack
Hack Materials
- (1) 1 x 4 x 12' YellaWood® brand pressure treated pine
- (1) 2 x 4 spacer jig (used in Step 11)
- (1) ½ lb box 2 ½" wood screws
- Preferred wood finish
Hack Tools
- Pencil
- Measuring tape
- Miter saw
- Combination countersink drill bit
- Drill/driver
- Radial sander
- Damp rag to wipe up excess glue
- Waterproof wood glue

