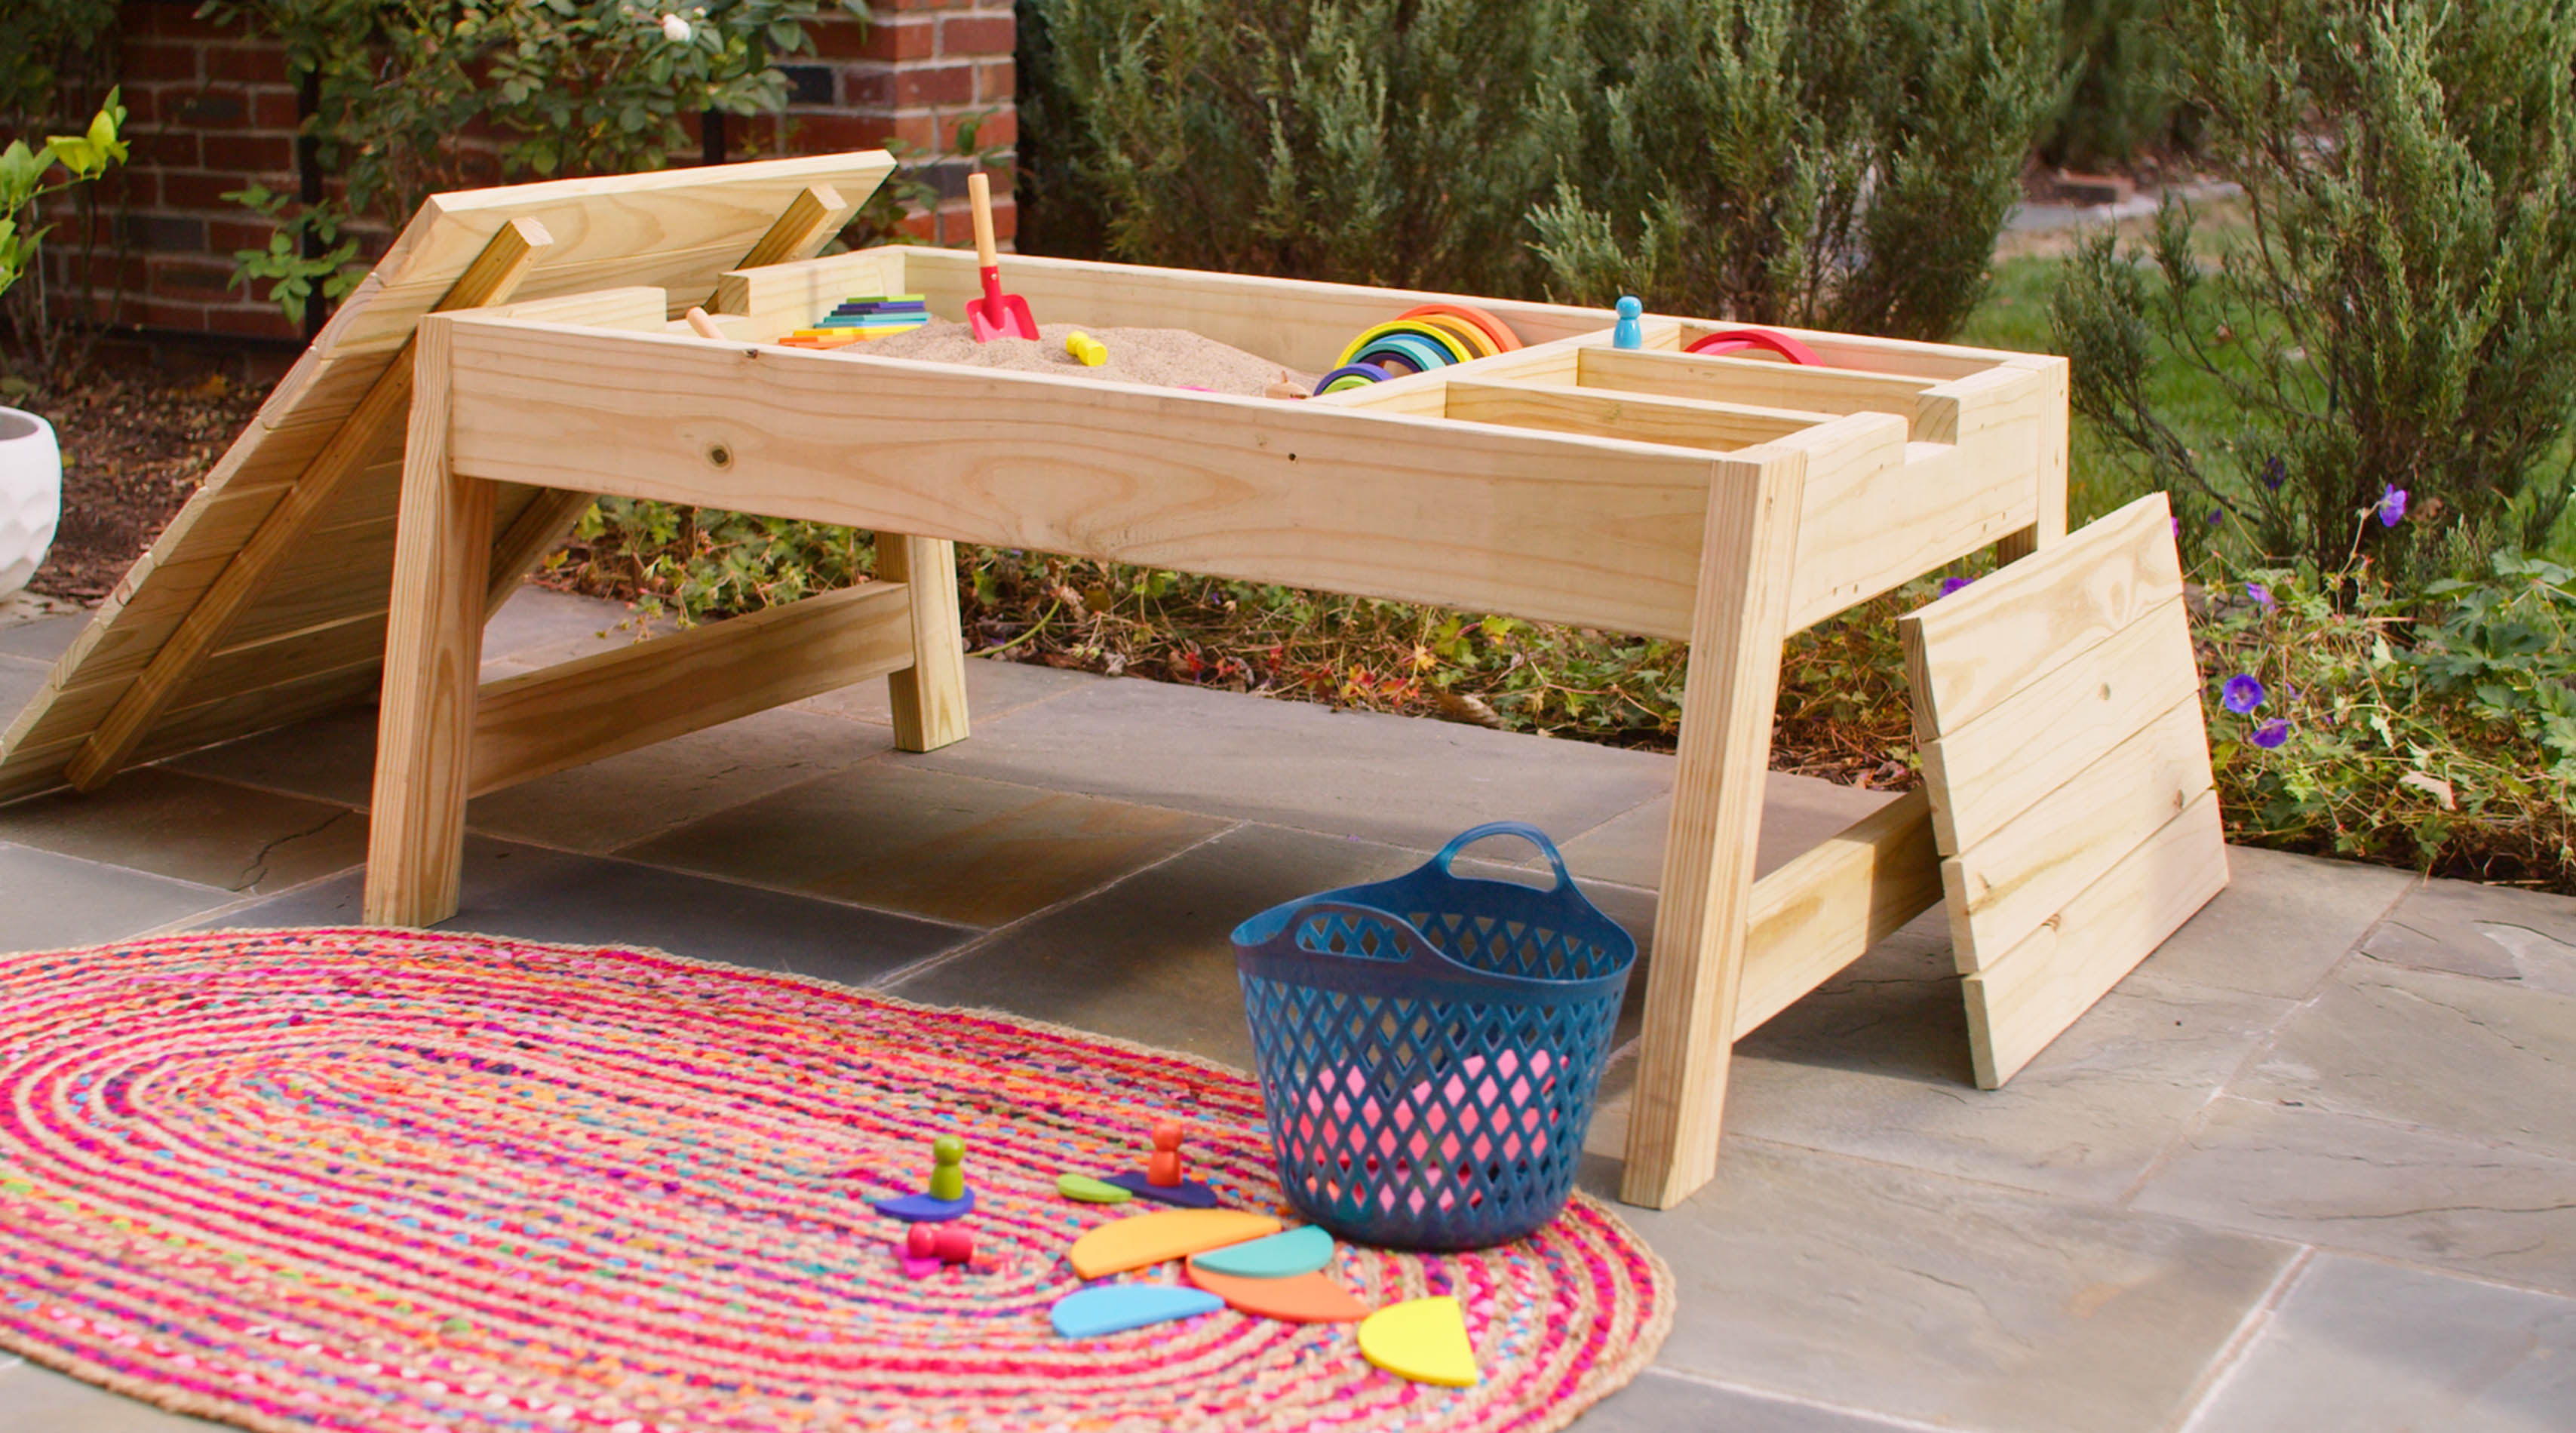
DIY Kid's Play Station
Set the play table for lots of fun.
This twist on a classic wooden play table is all but guaranteed to unleash a little imagination. Build this engaging DIY Kid’s Play Station and your little ones will quickly discover there’s always more fun to be had.
It’s also a enjoyable build for any aspiring DIYer who wants to take their building skills to the next level. Our easy-to-follow, step-by-step plan includes it all—from measurements to a materials list to detailed assembly techniques. Before you know it, the frame, base, sides, dividers and lid will all turn into engaging outside time for the kids.
Get to the good times and get building today. Countless moments of backyard enjoyment await.
Important reminders before you get started:
If you choose to stain and seal your new DIY Kid’s Play Station, we recommend YellaWood Protector® semi-transparent stain and water repellent wood sealer for long-lasting beauty and protection.
Before you get started, please read our info on safety, fasteners and building tips.
Before building, please consult our Terms of Use.
Watch the DIY Kid’s Play Station video for step-by-step Instructions.
Materials
- (1) 2 x 2 x 8' YellaWood® pressure treated pine
- (5) 1 x 4 x 8' YellaWood® pressure treated pine
- (4) 2 x 4 x 8' YellaWood® pressure treated pine
- (2) 2 x 6 x 8' YellaWood® pressure treated pine
- (1) 0.5", 4 x 8' YellaWood® plywood
- 1.625" trim head screws + appropriate bit
- 3" YellaWood® fasteners + appropriate bit
- YellaWood Protector® Stain and Sealer
Tools
- Pencil
- Measuring tape
- Miter saw (or chop saw)
- Circular saw
- Drill / driver
- Drill bit
- Jigsaw
- Clamps
- Radial sander (or sanding block)
- Square
- Waterproof wood glue (optional)
- Paint / stain brush
- Damp cloth (optional)
Cut List
- A. (2) 2 x 2 x 10.5"
- B. (2) 2 x 2 x 31.5"
- C. (14) 1 x 4 x 27"
- D. (2) 2 x 4 x 10.5"
- E. (1) 2 x 4 x 24”
- F. (2) 2 x 4 x 46.25"
- G. (4) 2 x 4 x 22"
- H. (2) 2 x 4 x 26"
- I. (2) 2 x 6 x 24"
- J. (2) 2 x 6 x 46.25"
