DIY Chicken Coop Plan
WHEELS HACK FOR EASY TRANSPORT
Learn how to build a chicken coop with our easy backyard chicken coop plan.
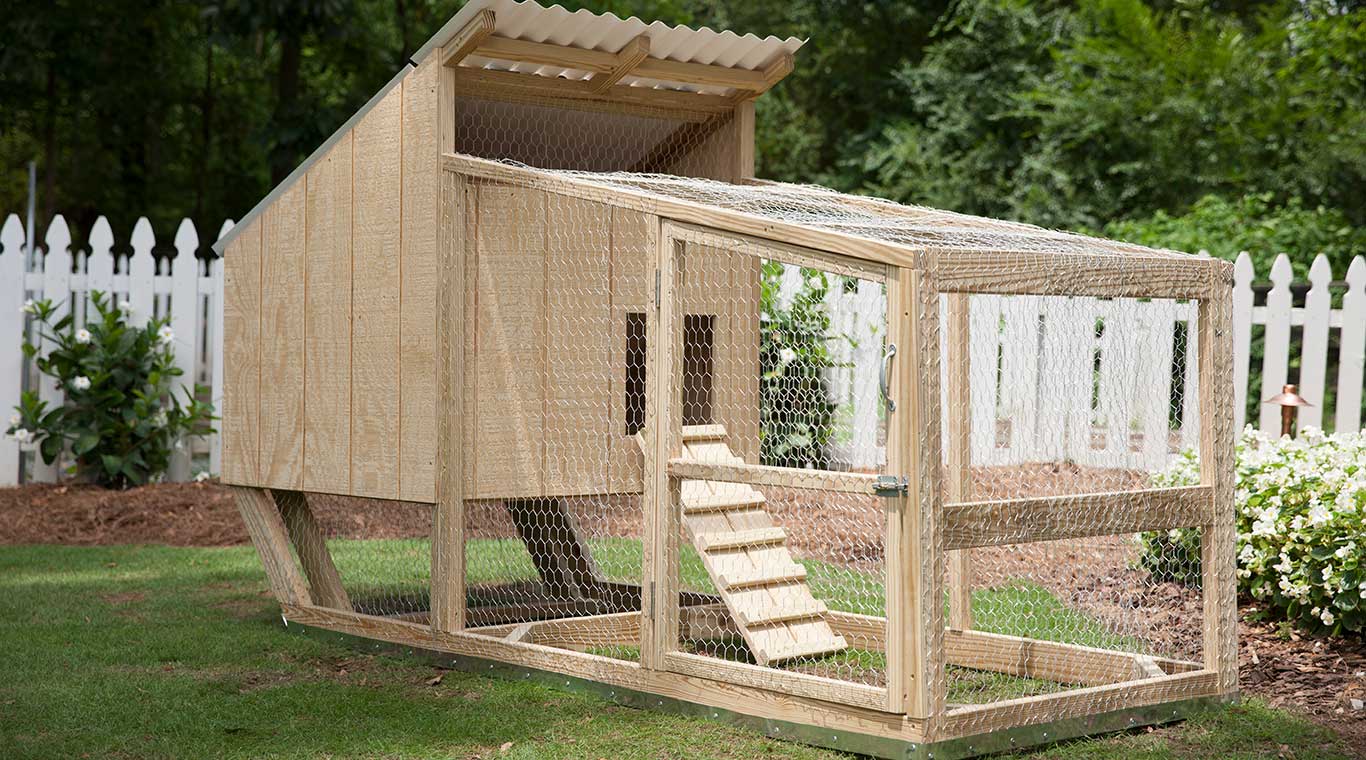
Building a Chicken Coop is an ambitious project, but it's also incredibly rewarding. Since hens can get into a reproductive cycle yielding on average an egg about once per day, adequate shelter for roosting and laying is a necessity. This DIY chicken coop provides a deluxe home for chickens that only requires building five sections. With a compact footprint, your coop will fit smaller and even urban backyards. Now anyone can enjoy fresh laid eggs.
Our easy chicken coop plan includes several features to keep your feathered friends happy.
- The front opening offers ample pecking and walking room to have chickens feeling as if they were on a country farm, while the enclosed area provides plenty of shelter for roosting and laying.
- A hinged roof provides easy access to lay fresh hay or check on eggs. The roof’s overlapped design also protects chickens from the rain.
- The ramp step spacing is designed to prevent even small breed chickens from sliding.
- A slide-out tray to clean out chicken droppings makes maintenance easy.
- After building the chicken coop, additional hooks can be mounted inside to hang food and water or outside to store brooms and scoops.
Make sure you build your roosts higher than the nesting boxes so your chickens aren’t tempted to roost inside the boxes – they like to find the highest perch.
After you build and place your chicken coop, build up the ground around any gaps to prevent rodents and snakes from getting in under the structure. If you build the wheel hack and relocate the coop, make sure you repeat this step in the new location.
Download the YellaWood® chicken coop plans for free, for step-by-step instructions detailing how to make a chicken coop.
How to Build a Chicken Coop Video
Important reminders before you get started:
Check your local ordinances to make sure building a chicken coop/raising chickens is allowed in your area.
- Read through the easy-to-follow chicken coop plans to familiarize yourself with the entire process before beginning.
- Always double-check measurements before making cuts.
- Pre-drill holes before attaching screws.
- Wood glue is optional, but can make it easier to hold parts together before permanently fastening.
- Read our info on safety, fasteners and building tips.
- Consult our Terms of Use.
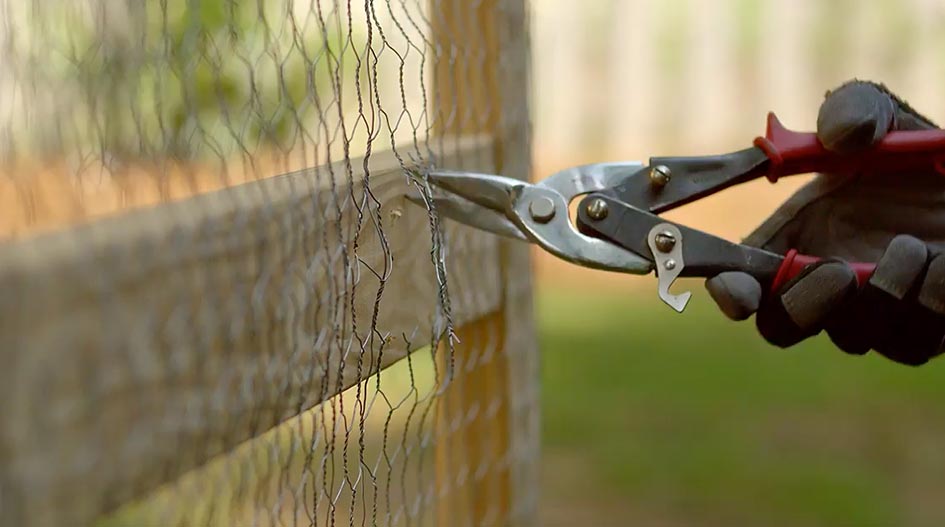
- For extra protection, hardware cloth is recommended instead of chicken wire.
What you'll need to build a DIY chicken coop:
Materials
- (15) 2 x 2 x 12' YellaWood® brand pressure treated pine
- (5) 2 x 4 x 12' YellaWood® brand pressure treated pine
- (2) 1 x 4 x 8' YellaWood® brand pressure treated pine
- (2) 1 x 2 x 8' YellaWood® brand pressure treated pine
- (1) 5⁄4 x 6 x 8' YellaWood® brand pressure treated pine
- (1) 15⁄32" x 4' x 8' plywood
- (2) 19⁄32" x 4' x 8' T1-11 8" OC siding
- (2) 26" x 8' PVC roof panel in white
- (1) 14" x 10' aluminum flashing roll
- (2) 24" x 50' hardware cloth roll with 1/2" squares
- (2) 1 1/2 x 1 1/2 x 10' galvanized steel roof edge flashing
- (1) 4" galvanized handle
- (1) 3" galvanized barrel lock
- (2) 3" galvanized hinges
- (1) 1/2 lb Box & Appropriate Bits
- 1/2" washer-head metal screws
- 1 1/4" gray & 1 1/4" wood screws
- 1 5/8" wood screws
- 2 1/2" wood screws
- (1) 5 3/4" galvanized handle
- (2) 4" galvanized hinges
- (1pk) 18-gauge ½" staples
- (2) 1/4" galvanized carriage bolts
- (3) 1/4" galvanized washers and nuts
- (1) Construction cement tube
- Preferred wood finish
- YellaWood Protector® Stain and Sealer
Tools
- Pencil
- Permanent marker
- Adjustable wrench
- Carpenter framing
- Caulk gun
- Clamps (two at least 12" long)
- Combination countersink bit (with 2" long 1/8" bit)
- Damp rag to wipe up excess glue
- Drill/driver
- Scissors
- Jig saw (or hand or circular saw)
- Level
- Measuring tape
- Miter saw
- Pneumatic stapler
- Radial sander
- Table saw
- Waterproof wood glue
- Wire snips
- 1/4" Drill bit
Plan Preview
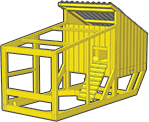
DIY CHICKEN COOP PLAN PREVIEW
Our free and easy plan instructions and pictures make building a chicken coop fun and stress-free.
Steps:
- Build front and back frames, door and nesting boxes. Make sure you have space to assemble – and that it’s easy to relocate when completed. Test that the door opens and closes smoothly before attaching all hinge screws. Clamps are helpful when securing the back wall.
- Establish housing, tray and roosting bar. Roosts should be at least 2" wide and preferably 4". Chickens don’t wrap their feet around a perch like wild birds do, and they actually prefer to sleep flat-footed
- Apply roofing and build ramp. Ensure the frame opens and closes smoothly. It should overhang the back wall for an easy lift. The roofing overlap will help water run continuously from top to bottom.
- Finish and protect. Attached hardware cloth to the frame to protect the chickens. Make sure you do the door separately. Sand the edges and apply water repellant regularly. You can also paint or stain if you prefer.
- Build time:
- Cutting: 3 hours
- Assembly: 5 hours
- Finishing: 2 hours
- Chicken coop size:
- Top: 94” x 41”
- Side and front: 60”
- Safety equipment needed:
- Work gloves
- Dust mask
- Safety glasses
- Ear protection
WHEELS HACK FOR EASY TRANSPORT
Relocate your chickens with ease by building two 10” wheels on the back of your chicken coop. In only one hour, you’ll have a “cooped-up” wheelbarrow that’ll allow you to find the perfect spot (or many) for your chickens.
Materials and tools needed for DIY chicken coop wheels hack:
Hack Materials
- (2) 3 1/2" zinc-plated storage chest handles
- (2) 10" x 2 3/4" wheel for hand trucks + corresponding washers, nuts and bolts that fit inner diameter of wheels
Hack Tools
- Pencil
- Measuring tape
- Drill/driver
- Drill bit
- Carpenter framing square
- Metal cutting snips


