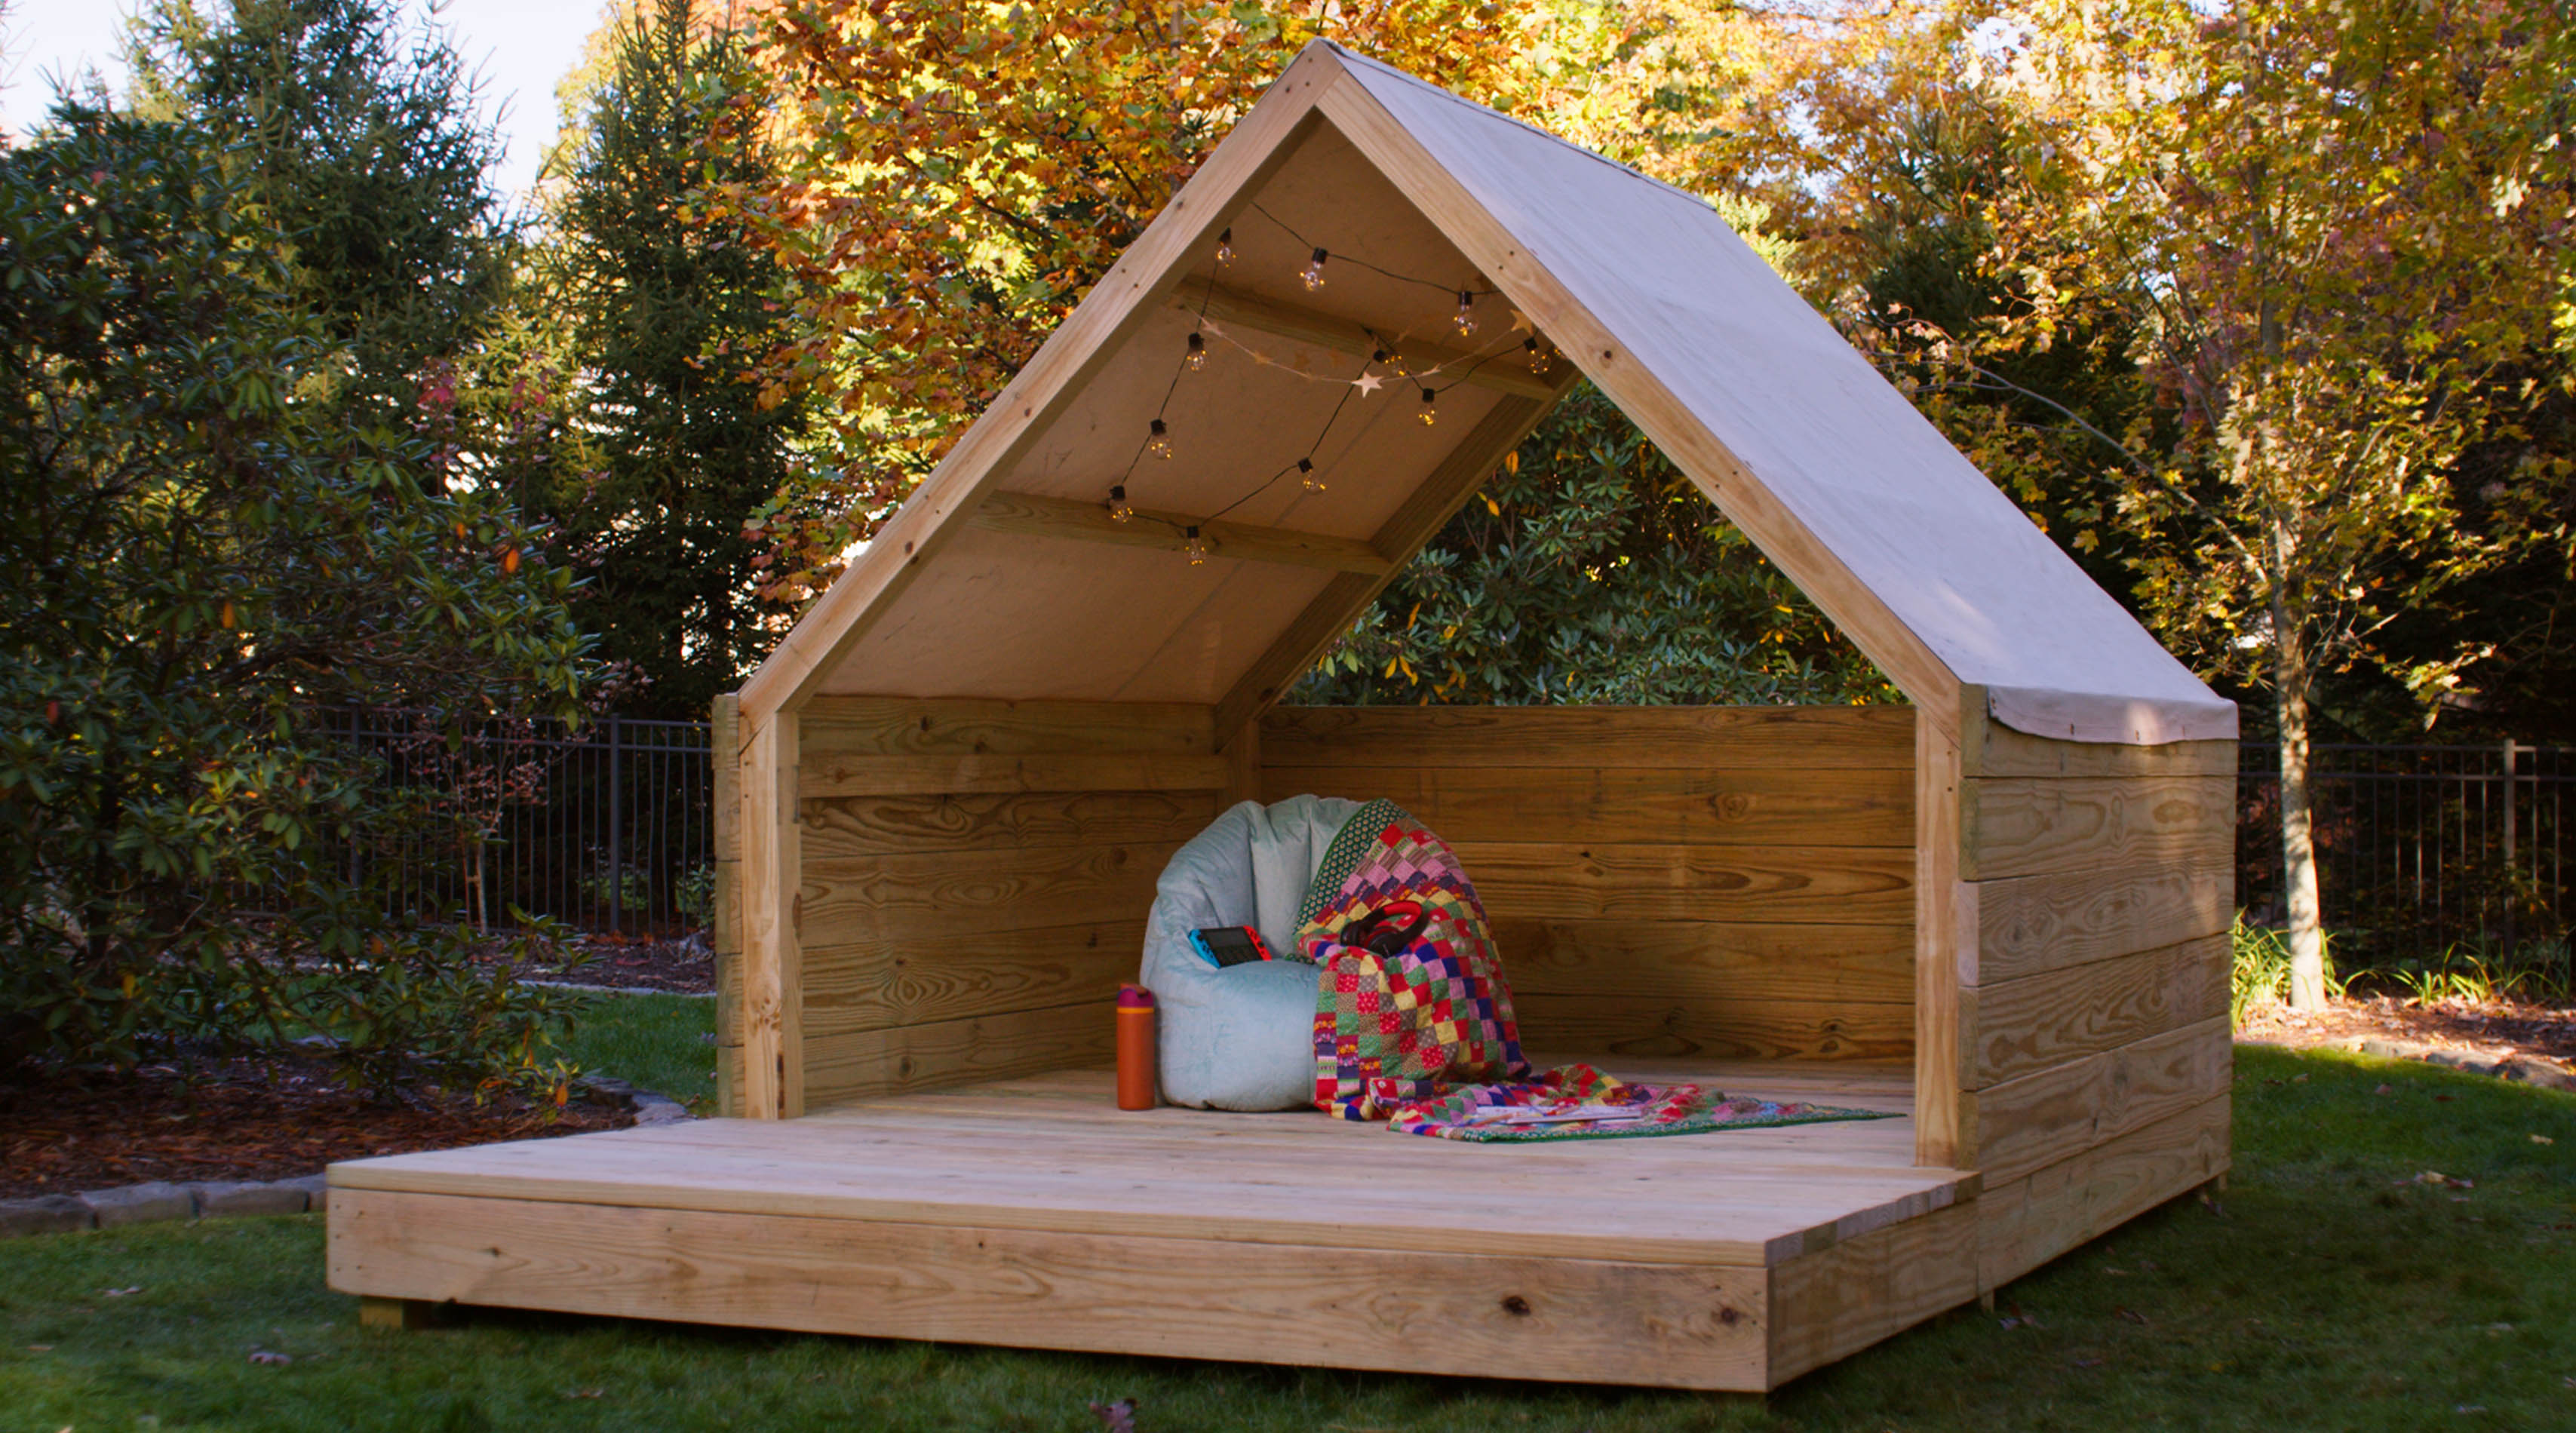
A-FRAME PLAYHOUSE
You’ll never look at a treehouse or fort the same.
Build a backyard play structure that also builds more imaginative and relaxing playtime. This DIY A-Frame Playhouse project provides a newfound place for your child’s creativity to grow. Plus, this DIY plan is a big enough incentive to get both you and your kids outside.
A weekend build can lead to endless playtime possibilities with an A-Frame Playhouse. It starts out as a simple base frame and then builds up momentum from there. Follow the plans to the letter or add a few creative embellishments of your own on the walls and roof. No matter what, the fun is all but guaranteed.
Get started on our A-Frame Playhouse for your family today.
Important reminders before you get started:
If you choose to stain and seal your new A-Frame Playhouse, we recommend YellaWood Protector® semi-transparent stain and water repellent wood sealer for long-lasting beauty and protection.
Before you get started, please read our info on safety, fasteners and building tips.
Before building, please consult our Terms of Use.
Watch the DIY A-Frame Playhouse video for step-by-step Instructions.
Materials
- (5x) 2x4x8' YellaWood® pressure treated pine
- (9x) 4x4x8' YellaWood® pressure treated pine
- (50x) 2x8x10' YellaWood® pressure treated pine
- (2x) 7x9' Heavy-duty waterproof canvas tarp
- 6" YellaWood® fasteners + appropriate bit
- 3" YellaWood® fasteners + appropriate bit
- YellaWood Protector® Stain and Sealer
Tools
- Pencil
- Measuring tape
- Miter saw (or chop saw)
- Jigsaw
- Drill / driver
- Drill bits
- Level
- Clamps
- Mallet
- Square
- Radial sander (or sanding block)
- Paint / stain brush
- Damp cloth (optional)
Cut List
- A. (4) 2 x 4 x 89.5"
- B. (2) 2 x 4 x 32"
- C. (3) 4 x 4 x 89.5"
- D. (2) 4 x 4 x 75"
- E. (4) 4 x 4 x 10"
- F. (2) 4 x 4 x 71.75"
- G. (4) 4 x 4 x 45"
- H. (8) 2 x 8 x 104.5"
- I. (8) 2 x 8 x 101.5"
- J. (13) 2 x 8 x 101"
- K. (12) 2 x 8 x 99"
- L. (5) 2 x 8 x 96"
- M. (2) 2 x 8 x 51"
- N. (5) 2 x 8 x 49.5"
