HOW TO BUILD AN OUTDOOR BAR
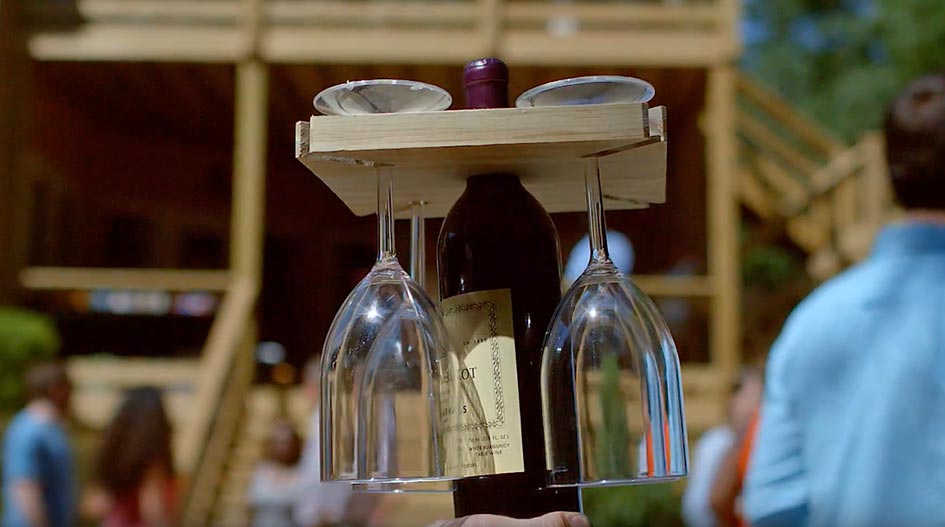
Bottle & Glass Carrier Hack
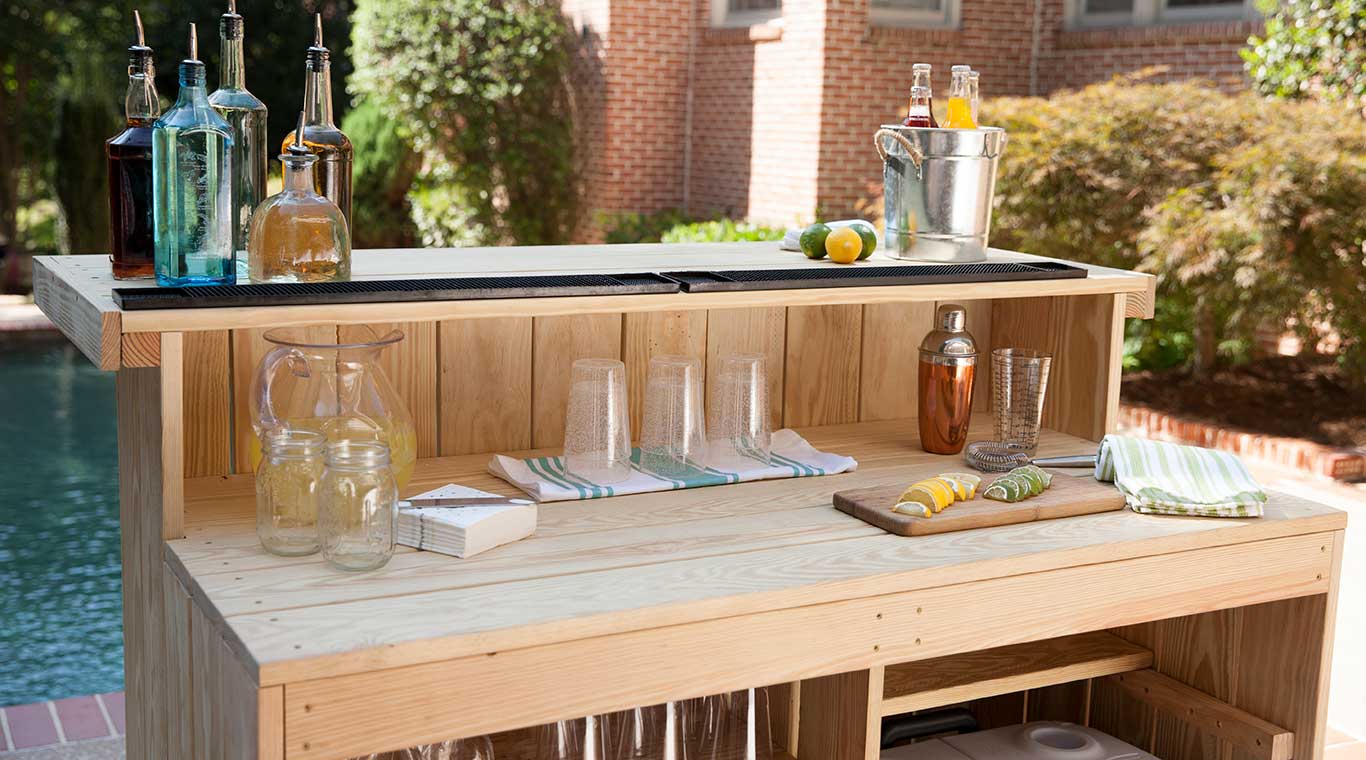
When it comes to serving drinks in style, an outdoor bar is the perfect companion to any deck, patio, or porch.
This project features storage below the counter that includes adjustable shelving and accommodates a 40-gallon cooler. The staggered counter height is ideal for both making drinks and serving guests. The outside cladding of this piece is built from decking boards that come with a beautiful milled edge for a finished look.
Once the main frame is built, the countertops are installed, and the shelving pieces are placed within. In a few short hours, your outdoor bar will be ready for years of enjoyment.
Before you get started, please read our info on safety, fasteners and building tips.
Before building, please consult our Terms of Use.
Outdoor Bar
Materials
- (22) 5/4 x 6 x 10' YellaWood® brand pressure treated pine
- (4) 2 x 4 x 10' YellaWood® brand pressure treated pine
- (2) 1 x 4 x 10' YellaWood® brand pressure treated pine
- (3) 2 x 2 x 10' YellaWood® brand pressure treated pine
- (1) 1/2 lb box 1 1/4" wood screws + appropriate bit
- (1) 1/2 lb box 2" wood screws + appropriate bit
- (1) 1/2 lb box 2 1/2" wood screws + appropriate bit
- (1) 1/2 lb box 3 1/2" wood screws + appropriate bit
- Wood shims
- Preferred wood finish
- YellaWood Protector® Stain and Sealer
Tools
- Pencil
- Measuring tape
- Miter saw (or chop saw)
- Table saw
- Drill/driver
- Mallet
- Clamps (two at least 5' long – bar clamp recommended)
- Combination countersink bit (with 3" long 1/8" bit)
- Radial sander (or sanding block)
- Combination square (including level)
- Damp cloth (optional)
- Waterproof wood glue (optional)
Plan Preview
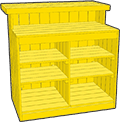
OUTDOOR DIY OUTDOOR BAR PLAN PREVIEW
Make your own outdoor bar with YellaWood®’s step-by-step project plan. In construction, after the main frame is built, the countertops are installed, and shelving pieces are placed within. Below is a summary of the steps you’d take to create this bar. Download the project plan to get the full instructions.
A summary of the steps is shown below:
1 Prep. Cut and label all parts according to the instructions.
2 Frame & Side Walls. Place boards down for the wall and secure using a clamp, spacers, markings, and screws. Repeat this to create the other wall. Create the two frames, using bar clamps and a mallet as needed to help maintain a square joint. Secure the bottom and top frames to both walls.
3 Back & Middle Walls + Work Surface. Begin working on a middle wall in the bar by placing wood frames. Using spacers and screws, secure on the top and bottom. Place correct parts on the top surface to create the countertop. Secure additional pieces to complete the countertop.
4 Bar Top & Shelves. Use a level to create markings for the bar shelves. Use markings as a guide to secure boards to the middle wall using screws. Repeat on the other side of the middle wall. Add support parts on the outside of the top wall using screws and add remaining boards to the top of the bar. Attach apron parts to the outside edges of the bar. Fill in the bottom of the bar storage with the appropriate pieces and insert your shelves.
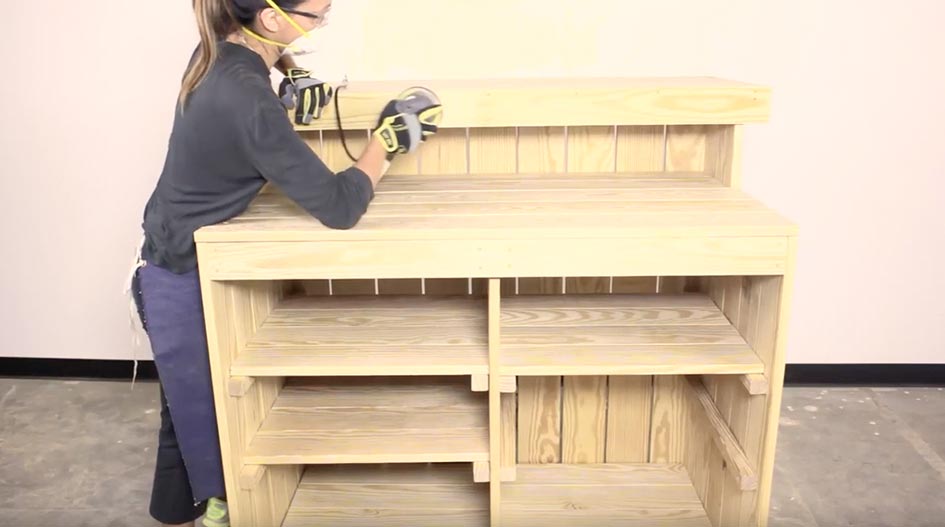
5 Finishing. Ease any sharp edges using a radial sander or sanding block with medium grit. Apply preferred finish to the wood.
Bottle & Glass Carrier Hack
Hack Materials
- (1) 1x8x8' YellaWood® brand pressure treated pine
- Preferred wood finish
Hack Tools
- Pencil
- Measuring tape
- Miter saw (or chop saw)
- Jig saw
- 1 1/4" hole saw
- 3/16" drill bit
- Clamps
- Drill/driver
- Radial sander (or sanding blocks)
Hack Plan Preview
This is one of the simplest hacks and calls for a single piece of wood. It contains a hole in the middle for the neck of a bottle and four slits at the corners for sliding in wine glasses. After the holes are drilled and the slits are cut, sand the edges, and you're ready to entertain with ease.
A summary of the steps is shown below:
1 Holes. Cut a square piece out of stock and make a hole in the center with a 1 ¼” hole saw. Measure four holes off the diagonals and drill with a 3/16” bit.
2 Stem Slots. Draw a straight line from each corner to the respective hole. Follow the line using a jigsaw blade. Do this on all four corners. Chop off 1/8” of each corner to ease the sharp points.
3 Finishing. Ease any sharp edges using a radial sander or sanding block with medium grit. Apply preferred finish to the wood.