DIY CORNHOLE BOARD PLAN
Win no matter what the score. Learn how to build cornhole boards.
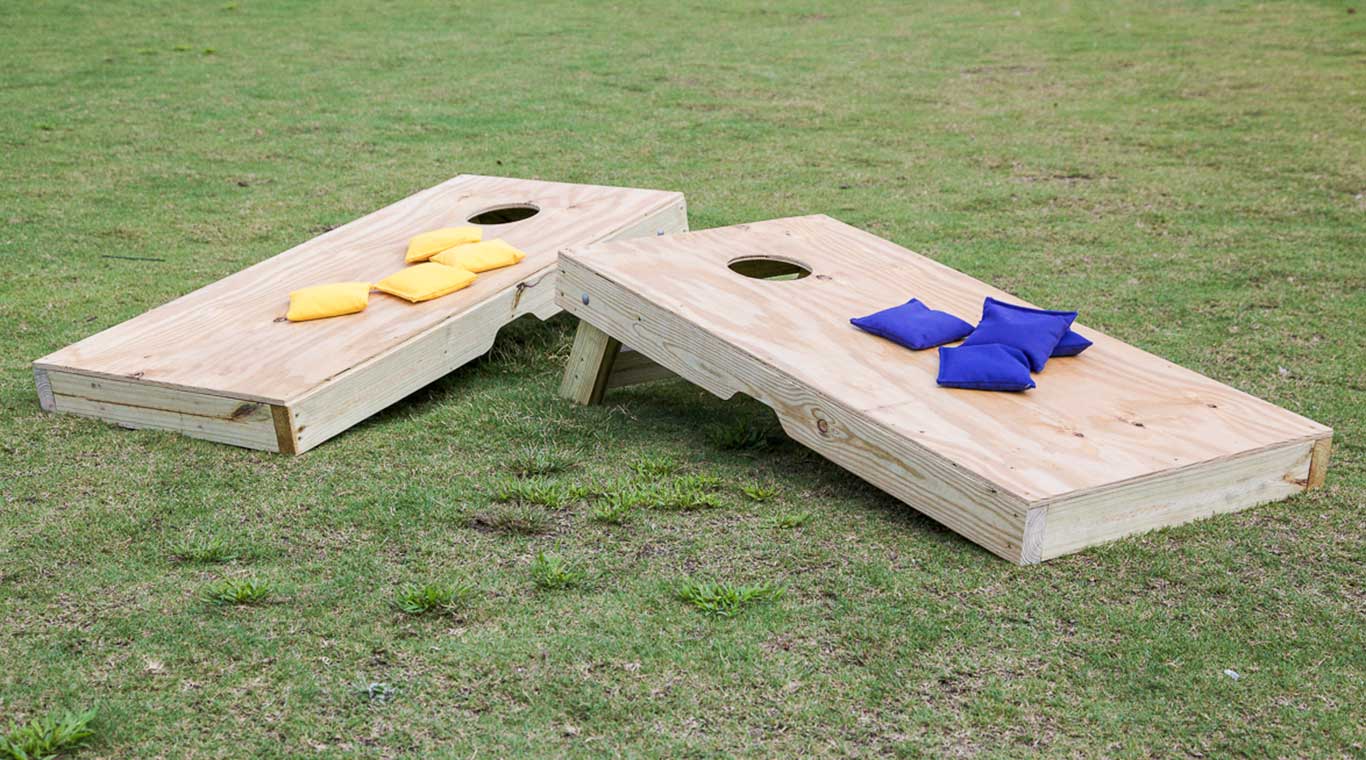
One weekend project all but guarantees future weekends filled with intense rivalries and thrilling victories. Our DIY cornhole plans provide step-by-step instructions for simple cornhole board construction – you can build in the morning and host a game in the afternoon! Building your own cornhole boards is a low-cost project that’s great for backyard games, tailgates and picnics. Customize your DIY cornhole boards with your team’s logo, a monogram or your favorite colors. Using YellaWood® boards and plywood, the game takes shape in a few simple steps.
The YellaWood® DIY cornhole board plan will help you build two regulation size, 24” x 48”, cornhole boards to make sure everyone is playing by the rules. All cornhole dimensions are spec'd to the American Cornhole Organization’s (ACO) regulations. The set features handle cutouts, so you can easily carry both boards to wherever you choose to play. Before we jump into how to build the cornhole boards, please read our info on safety, fasteners and building tips and consult our Terms of Use.
How to build cornhole boards: Video
Cornhole board materials and dimensions – what you need to get started:
Materials
- (4) 2" x 4" x 8' (actual 1 1/2" x 3 1/2" x 8') YellaWood® brand pressure treated pine
- (1) 4' x 8' x 1/2" plywood YellaWood® brand pressure treated pine
- 1/2 lb box 2 1/2" wood screws
- (20) 1 1/2" wood screws
- (4) 4" long x 3/8" carriage bolts
- (4) 3/8" washers
- (4) 3/8" wingnuts
- YellaWood Protector® Stain and Sealer
Tools
- Chop saw (or hand or circular saw)
- Table saw
- Drill/driver
- Jig saw
- Clamps (two at least 12" long)
- Measuring tape
- Compass
- Hammer
- Square
- Sanding block
- ⅜" drill bit at least 5" long
Plan Preview
CORNHOLE BOARD PLAN PREVIEW
Follow YellaWood® step-by-step cornhole board plans to get started on your personal set of cornhole boards. Because this is a simpler piece, we do not provide direct measurements based on the pre-assembled portions. To limit redundancy, instructions are for one board. Repeat the steps for the second board. You can cross-cut or rip-cut all the pieces to the cut list prior to assembly. Bring the cornhole board plans to your local YellaWood dealer and they may even cut them for you.
A summary of the steps is shown below:
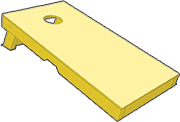
- Frame. Use a jigsaw to cut the handle cutout on one side of the board. When arranging the frames, put the (A)s with the handle cutout in a mirroring orientation so that, when fully assembled, the plywood board will be on the inside of the person carrying the set.
- Construct angled supports and support brace. Use a compass for rounded edges on the supports that will create lift. Attach the support brace about an inch off the work surface.
- Smooth and finish the board surface. Cut circle in plywood board and attach to frame (Use a compass to get a 3” radius and a jigsaw to make the cut). Sand any sharp edges with medium grit block and apply your preferred finish to decorate the board.